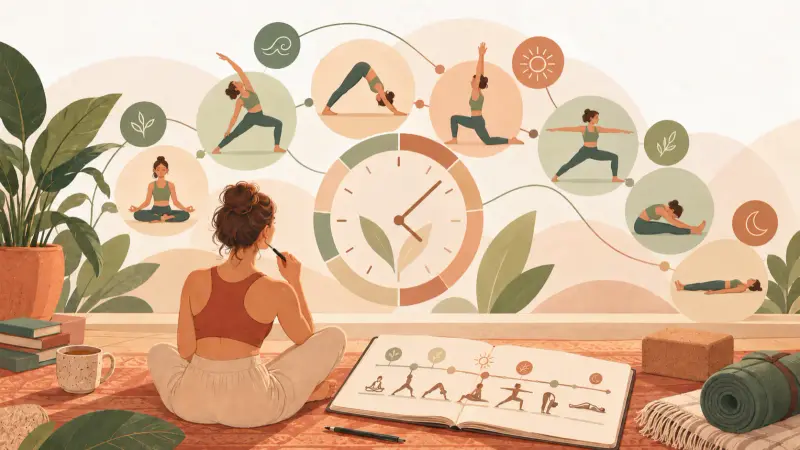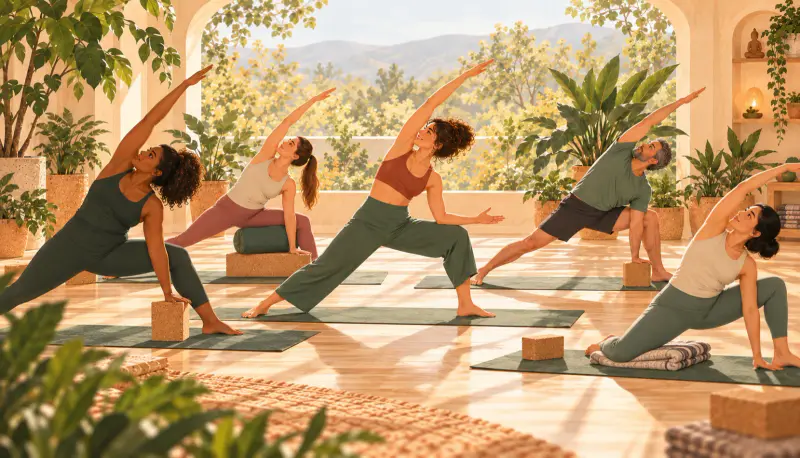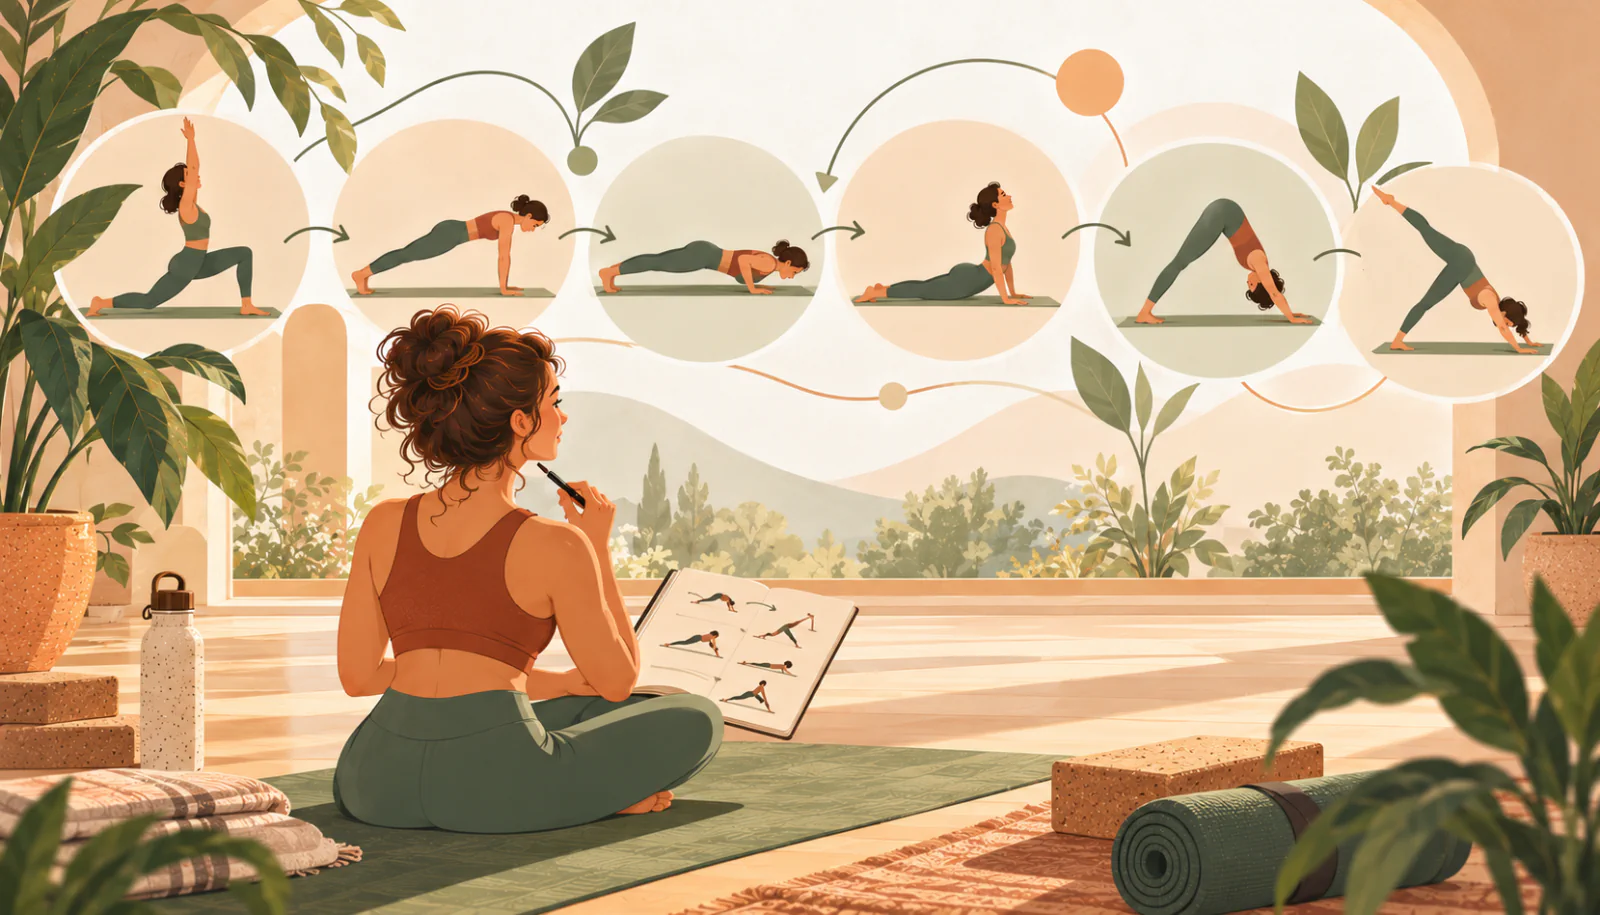
Two poses that are easy to explain separately can be awkward to connect. The transition deserves its own dedicated line in your lesson notes: it is an integral part of the physical experience, even when no classic pose illustration represents it.
Notice What Changes
Identify exactly which supports disappear, where the hands must move, and which way the students will face. Check where the blocks are placed and whether the mat remains clear of tripping hazards. A sequence that looks clear on paper can become confusing when everyone needs to retrieve equipment from the back of the room.
Orient Before Moving
Offer the most useful instruction before the action begins. “Return to standing, then face the long edge of your mat” gives students a clear direction. Avoid adding every detail of the next pose to the same instruction. A brief orientation pause makes the class much clearer without interrupting the overall flow.
Keep Another Route Available
Creasana · Workshop
Try it in your planning
- Choose two consecutive poses from your latest plan.
- Describe the connection between them without using their formal names.
- Try the transition physically with the equipment that will be available.
- Add an alternative, simplified route to reach the second position.
Include transitions in your class plan using Creasana.
References for further exploration
These planning examples should be adapted to your group and training. References provide context for the topics discussed; they do not validate every example sequence.